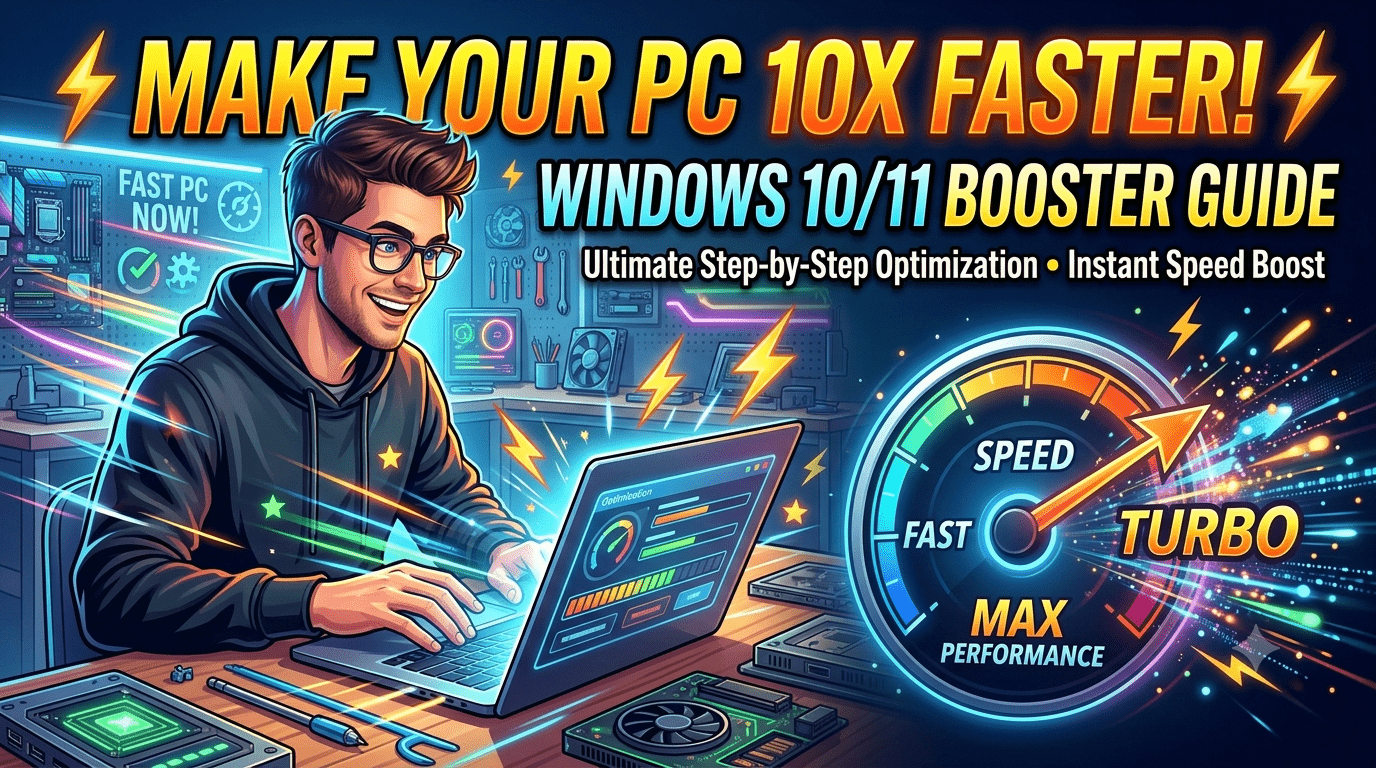
Is your Windows computer lagging, freezing, or taking forever to boot up? Over time, even the most powerful desktops and laptops can slow down due to cluttered files, unnecessary startup programs, and bloated background processes.
If you are tired of staring at loading wheels, you are in the right place. In this comprehensive, step-by-step guide—inspired by deep dives into advanced PC optimization techniques from the Advanced User channel—we will walk you through exactly how to clean, optimize, and supercharge your operating system for maximum performance.
1. Clean Out System Junk with Built-In Disk Cleanup
Before installing third-party utilities, utilize the powerful tools already baked into Windows.
Temporary internet files, error reporting caches, and old update fragments build up silently over time, hogging valuable storage space and dragging down system response times.
Step-by-Step System Cleanup:
- Open This PC or File Explorer.
- Right-click on your local system drive (usually Local Disk C:) and select Properties.
- In the General tab, click the Disk Cleanup button.
- Once the initial scan finishes, click on Clean up system files. This re-runs the tool with administrative privileges to unlock deep-seated cache files.
- Check all relevant boxes, including Windows Update Cleanup, Temporary Files, DirectX Shader Cache, and the Recycle Bin.
- Click OK and then Delete Files to safely wipe gigabytes of unnecessary data.
2. Manually Clear the Windows Temporary Caches
Windows stores temporary workspace logs across multiple hidden directories. Frequently clearing these manually ensures that corrupted temp entries don’t trigger background errors.
The Three-Step Run Command Purge:
Press the Windows Key + R to open the Run dialog box, then execute these three commands one by one:
- temp: Wipes local user temporary application states.
- %temp%: Clears systemic environment caches.
- prefetch: Deletes optimal application launch mappings that have become outdated.
Inside each of these folders, press Ctrl + A to select everything, then press Shift + Delete to permanently remove them from your drive. If Windows warns you that a file is currently in use, simply click Skip.
3. Disable Visual Animations for Instant Snappiness
Windows includes smooth window transitions, fading menus, and drop shadows. While visually appealing, these animations consume GPU and CPU cycles, creating a perceived delay when navigating your desktop.
How to Prioritize Best Performance:
- Right-click on This PC on your desktop and select Properties.
- Click on Advanced system settings located on the side panel.
- Under the Advanced tab, look for the Performance section and click Settings.
- Switch the toggle from “Let Windows choose what’s best for my computer” to Adjust for best performance.
- Click Apply and OK.
Your windows will now snap open instantly without any transition lag, significantly reducing hardware overhead on budget configurations.
4. Tame Startup Apps and Background Processes
The longer you use a PC, the more third-party apps sneak into your automatic startup sequence. These programs silently load in the background the moment you boot, hogging RAM and processing power.
Managing System Configuration:
- Open Task Manager by pressing Ctrl + Shift + Esc or right-clicking your taskbar.
- Navigate to the Startup tab.
- Go through the list and Disable any software you don’t need launching immediately at boot (such as game launchers, cloud storage utilities, or chat services).
- Next, open the Run dialog (Win+R), type msconfig, and head to the Services tab.
- CRITICAL: Check the box that says Hide all Microsoft services. Disabling essential system processes can destabilize Windows. Once hidden, disable any remaining non-essential background processes running from software you rarely use.
5. Defragment Your Drives for Smooth Data Access
If your computer uses a traditional Mechanical Hard Disk Drive (HDD), file blocks become scattered across the physical platter over time, slowing down read/write speeds.
Optimization Maintenance:
- Search for Defragment and Optimize Drives in your Windows Start menu.
- Select your drive and click Optimize.
- Note: If you are using a modern Solid State Drive (SSD), Windows will run a TRIM command instead of defragmentation. This is perfectly safe and tells the SSD controller to erase unused blocks to keep speeds consistent.
6. Uninstall Bloatware and Unnecessary Software
Unused applications aren’t just dead weight on your storage drive—they often tie themselves to active system registries and run background updaters.
- Head to Control Panel -> Uninstall a Program.
- Carefully sort by installation date or size and uninstall software you no longer use. Clean applications out thoroughly rather than just deleting their desktop shortcuts.
Advanced PC Optimization Strategies
For enthusiasts looking to squeeze every drop of performance out of older hardware, these advanced optimization strategies provide deep-level performance adjustments.
Utilizing Trusted Third-Party Cleaners
While Windows has built-in tools, utility software like CCleaner can streamline maintenance. CCleaner scours tracking cookies across all installed browsers simultaneously, cleans up broken registry keys left behind by uninstalled software, and purges applications’ temporary installation logs that Windows ignores. Use registry cleaners cautiously, and always back up your registry keys when prompted before completing a sweep.
What is Winhance?
Winhance is an optimization script/utility designed to tweak Windows under-the-hood settings. It helps automate the process of disabling hidden telemetry tracking, adjusting CPU scheduling priorities, and cleaning hidden system log configurations that are buried deep within administrative policies.
Deep Freeze: The Ultimate Static State Solution
If your computer is frequently slowed down by junk files downloaded during daily workflows, consider a utility like Deep Freeze.
- How it works: It creates a “frozen” baseline snapshot of your operating system.
- Whenever you restart your computer, any changes made during that session—whether it’s junk files, downloaded malware, or modified settings—are completely wiped out, returning your PC to a perfectly clean state upon every single boot.
Disabling Windows Features: Gains vs. Risks
Windows installs hundreds of universal optional features in the background (such as Internet Information Services, Virtual Machine Platforms, or legacy Media Features). Disabling these through the “Turn Windows features on or off” menu frees up system memory.
- The Risk: Turning off features carelessly can break core functionality. Disabling features like the .NET Framework can cause third-party software and games to instantly crash upon launch. Only turn off features you are certain your workflow doesn’t depend on.
The Ultimate Speed Option: Custom Lite Versions of Windows
For exceptionally weak computers or dedicated gaming rigs, many users turn to custom, debloated, “Lite” versions of Windows (such as Tiny11 or AtlasOS). These ISO configurations have Windows Defender, telemetry tracking, system updates, and hundreds of non-essential background processes entirely stripped out by developers.
- The Verdict: While a custom Lite version of Windows will dramatically lower RAM usage and make an old PC feel lightning fast, it comes with a massive security warning. Turning off windows updates and security layers leaves your system highly vulnerable to zero-day exploits and malware. For critical machines handling personal data, it is always safer to stick to an official Windows installation and debloat it manually.
For an extensive video walkthrough with visual deep-dives into these exact cleaning steps, check out the full tutorials on the Advanced User Channel (Video 1) and the Advanced User Channel (Video 2).