
Getting locked out of your own computer is a frustrating experience. Whether you forgot a password you recently changed or found an old legacy machine in storage, losing administrator access doesn’t mean you have to completely reinstall your operating system and lose your data.
In this comprehensive troubleshooting guide, we’ll break down exactly how to bypass and reset a forgotten password across every major version of Microsoft Windows—from legacy systems like Windows XP to the modern Windows 11 environment.
1. How to Reset Windows 11 Password (The Modern Command Prompt Method)
Windows 11 defaults heavily to online Microsoft Accounts, making physical local password bypasses slightly different from previous iterations. If you are using a Local Account on Windows 11, you can still gain access utilizing the system’s built-in Recovery environment without third-party software.
Step-by-Step Local Account Reset:
- Trigger Advanced Startup: On your Windows 11 login screen, hold down the
Shiftkey while clicking Power > Restart. - Access Command Prompt: Go to Troubleshoot > Advanced Options > Command Prompt.
- Identify the System Drive: Enter
C:(or whichever letter hosts your Windows directory) and press Enter. Verify by typingdirto see if theWindowsfolder is present. - The Utility Manager Bypass: Type the following commands sequentially to temporarily replace the Accessibility features with the system terminal:DOS
cd windows\system32 ren utilman.exe utilman.exe.bak copy cmd.exe utilman.exe wpeutil reboot - Reset via Login Screen: Once the system restarts to the login screen, click the Accessibility icon (the human figure icon in the bottom right corner). A command prompt window will open with system privileges.
- Overwrite the Password: Type the following command, substituting your specific username and desired new password:DOS
net user Username NewPassword - Close the window and log in immediately using your new password. Remember to revert
utilman.exelater using your recovery terminal!
2. How to Reset Windows 10 Password Using a Bootable USB
Windows 10 frequently relies on a clean system bypass using secondary installation media or command line configurations. If you prefer to bypass the login interface safely using an admin utility terminal, you can follow our detailed visual walkthrough.
Quick Summary of the Setup:
Using a standard Windows 10 installation media stick, you boot directly into the installer options menu, open the troubleshooting terminal, and route the Windows execution commands to rewrite user account credentials directly from the SAM (Security Account Manager) registry handles.
For a complete step-by-step visual demonstration of this exact process, watch our video tutorial here:
- Watch Now: Windows 10 Password Reset Tutorial
3. Bypassing Windows 8 / 8.1 Administrative Passwords
Windows 8 introduced the hybrid integration of local user profiles alongside web-based Microsoft authentication live handles.
If your device is utilizing an active offline local profile account, the core system executable switchover method (utilizing the command terminal override through the automated Ease of Access system button) is highly efficient. It allows you to run clean administrative net user queries before loading the core Explorer desktop shells.
To see the exact commands and navigation layout required to crack or recover your desktop profile on Windows 8, view our specialized breakdown:
- Watch Now: Windows 8 / 8.1 Password Bypass Guide
4. Resetting Windows 7 Password via System Repair Override
Windows 7 includes a built-in automated system recovery architecture that can be intentionally triggered to open an unprivileged text editor file dialog window. This window can explore deep system directories with automated administrator rights.
Step-by-Step Recovery Breakdown:
- Force-restart your computer while it’s loading the Windows animation sequence to trigger the Windows Error Recovery screen.
- Choose Launch Startup Repair (Recommended).
- Allow the wizard to search your drive. When a prompt appears asking to restore your computer using System Restore, click Cancel.
- Wait for the diagnostics utility to finish. Click the drop-down menu titled “View problem details”.
- Scroll down to the bottom link referencing the local offline privacy policy text file (
.txt) and click it to force-open Notepad. - Inside Notepad, click File > Open. Change “Files of type” to All Files (.).
- Navigate to
C:\Windows\System32\, look forsethc.exe(Sticky Keys), and rename it tosethc.old. Next, locatecmd.exe, duplicate it, and rename that copy tosethc.exe. - Close everything, let the computer boot normally, and tap the
Shiftkey 5 times on the login screen to drop into an elevated system prompt to clear out user flags.
For the exact timing and advanced visual walkthrough of this file explorer method, review our original demonstration:
- Watch Now: Windows 7 Built-In Password Reset Method
5. Recovering Windows XP Accounts via Safe Mode Command Prompt
On older legacy installations running Windows XP, security policies were drastically simpler. Windows XP generated a default built-in account named Administrator that was left entirely blank and passwordless on most standard consumer setups.
Step-by-Step Legacy Execution:
- Reboot your machine completely.
- Right as the initial BIOS text leaves your monitor, tap the F8 key repeatedly until you encounter the Windows Advanced Options Menu.
- Use your arrow keys to select Safe Mode with Command Prompt and press Enter.
- The system will load a basic monochrome text environment, presenting you with the default primary hidden master Administrator profile options alongside your locked account.
- Select the open Administrator profile to drop directly into the system management console window.
- Issue a direct clearing query to flush away the security parameters of your original profile:DOS
net user YourAccountName * - Type your new password twice, type
shutdown -rto reboot, and log back into your desktop.
To see how this legacy layout looks in practice on a real machine, follow our step-by-step video guide:
- Watch Now: How to Reset Windows XP Password
- Short Summary: Check out our Quick Windows XP Password Reset Short for a rapid 60-second visual review.
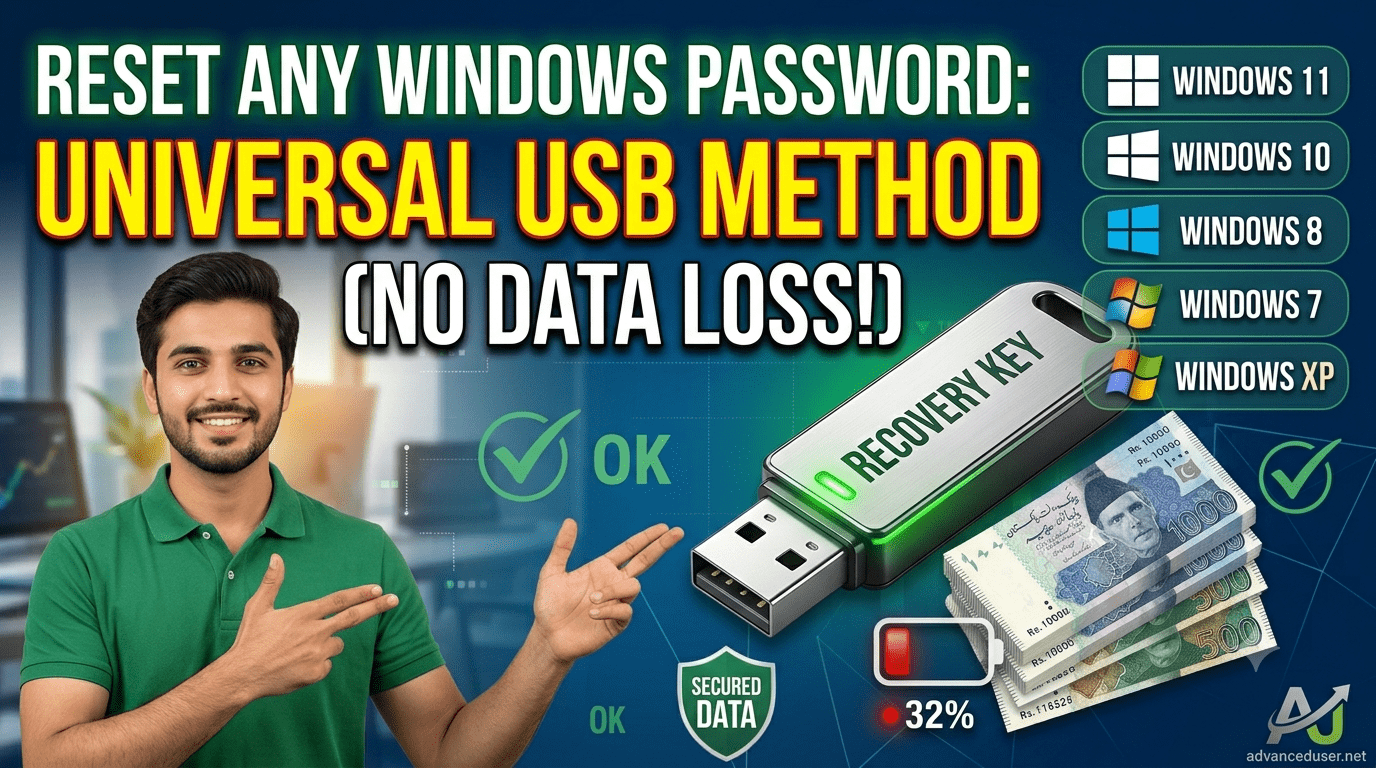
🚀 The Universal Method: Reset Any Windows Password Using a Bootable USB Software
If you are looking for a single, uniform approach that works identically across Windows XP, 7, 8, 10, and Windows 11, using a specialized third-party bootable tool is the most reliable option. Professional software suites like iSunshare Windows Password Genius, Passcape Reset Windows Password, and iSeePassword completely bypass the operating system’s internal defense mechanics by booting into a specialized preinstallation environment (PE) to clear the password straight from the SAM registry files.
This approach does not cause any data loss and works even if you are locked out of an Administrator account.
What You Need:
- A blank or formatted USB Flash Drive (at least 512 MB to 4 GB).
- Access to a secondary, working computer to set up the software.
- A professional password utility software installer (e.g., iSeePassword, iSunshare, or Passcape).
Universal Step-by-Step Breakdown:
- Burn the ISO to Your USB: Install your chosen recovery tool (such as iSeePassword or iSunshare) onto the working computer. Insert your USB drive, open the software, select USB Device, and click Begin Burning to turn the flash drive into a specialized bootable unlocker.
- Boot the Locked Machine: Unplug the newly created recovery USB and insert it into your locked Windows computer.
- Access the Boot Menu: Turn on the locked computer and immediately tap your system’s Boot Menu key repeatedly—usually F12, F9, or ESC depending on your motherboard manufacturer (e.g., Dell, HP, Lenovo).
- Select the USB Drive: In the Boot Menu interface, select your USB flash drive from the list of storage options and press Enter.
- Reset the Password instantly: The third-party program will initialize instead of loading the normal Windows lock screen. The tool automatically detects your installed operating system and lists all available local user profiles. Simply select the target user account, click the Reset Password button to clear the credentials completely, and click Reboot.
Once the machine restarts, unplug your USB drive, and you can log straight back into your desktop workspace with zero password prompts!
For an exact, click-by-click live demonstration showing how to configure the registration key and execute this software-based USB bypass flawlessly, watch our dedicated masterclass video:
- Watch the Live Guide: How to Bypass Any Windows Password in 1-Click with USB Software