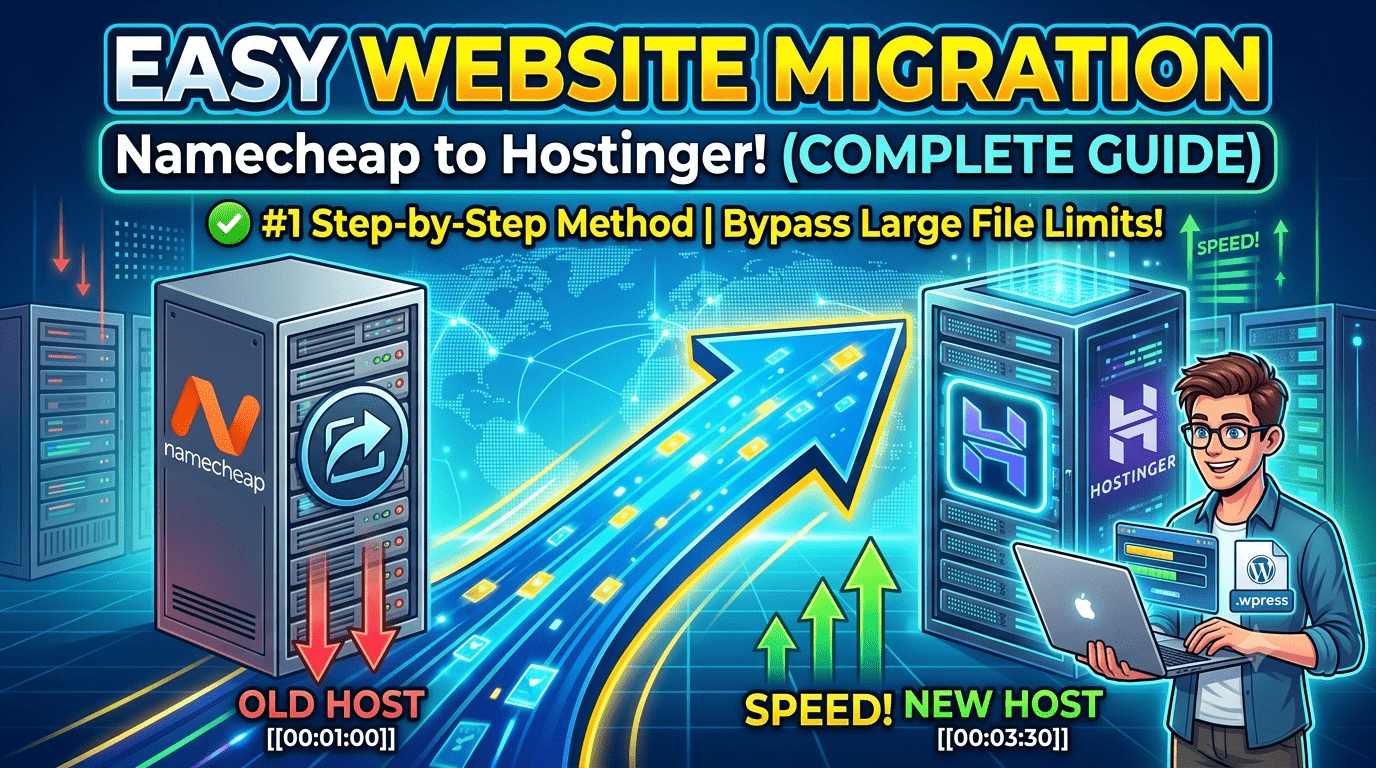
Migrating a website can seem like a daunting technical hurdle. Many web hosts offer free migration services—including Hostinger—but understanding how to do it manually is a highly valuable skill for any web administrator.
Whether you want to learn the process yourself or you have run into a brick wall trying to migrate a large site, this step-by-step tutorial breaks down the entire process. Based on a real-world migration of a live site (hashmiworld.com) from Namecheap to Hostinger, we’ll cover how to handle common migration issues—such as DNS delays and bypassing file size limits—without paying for premium plugins.
The Pre-Migration Checklist
Before touching any settings, ensure you have:
- Full Backups First: Never attempt a migration without a fresh backup.
- Your New Host Account: A newly purchased active hosting account (e.g., Hostinger Premium Web Hosting).
- Domain Ownership: Access to the domain registrar where your domain name is managed.
Step 1: Export Your Site Backup Using All-in-One WP Migration
To kick off the migration, log into your existing WordPress dashboard on your old host (Namecheap).
- Install and activate the popular, free plugin All-in-One WP Migration.
- Navigate to the plugin menu on your sidebar and click Export.
- Select Export To \rightarrow File.
- Once the plugin packages your databases, media files, and themes, download the generated .wpress file directly to your local computer.
Step 2: Update Your Domain Name Servers (DNS)
In this scenario, we are moving the hosting over to Hostinger while leaving the domain registration intact at Namecheap. To make the domain point to the new servers, you must update the nameservers.
- Log into your Namecheap Dashboard and head over to your Domain List.
- Find the target domain and click Manage.
- Locate the Nameservers section and change the dropdown from Namecheap BasicDNS to Custom DNS.
- Input Hostinger’s default nameservers:
- ns1.dns-parking.com
- ns2.dns-parking.com
- Click the green checkmark to save.
⚠️ Crucial Warning on DNS Propagation: Nameserver updates do not happen instantly. Global DNS propagation can take anywhere from 5 minutes to 48 hours. Constantly changing or tampering with the DNS records during this window can confuse the servers and drastically extend the downtime. Be patient! You can check the progress of your transfer using a utility tool like Who.is.
Step 3: Add the Domain and Install WordPress on Hostinger
Once the nameservers are pointed toward Hostinger, prepare the new home for your website.
- Log into your Hostinger hPanel and go to Websites \rightarrow Add Website.
- Categorize your site type (e.g., Blog or Online Store) and select Migrate Website. (You can choose to skip Hostinger’s automated wizard to handle it manually).
- Choose Use an Existing Domain and type in your domain name.
- With the domain successfully mapped to your hPanel, locate the Auto Installer tool under your website configuration dashboard.
- Select WordPress, fill out your website title, specify an administrator email, and set a fresh administrative password to complete the installation.
Step 4: Solving the “Large File” Import Stuck Issue (Overcoming the 800MB Barrier)
When you log into your newly installed WordPress site on Hostinger (via [yourdomain.com/wp-admin](https://yourdomain.com/wp-admin)), you will reinstall the All-in-One WP Migration plugin to import your old site data.
However, if your backup file is quite large (for example, 800MB or higher), trying to upload it directly through the WordPress browser interface will often hang or fail mid-way due to browser timeouts or network limits.
The File Manager Workaround:
Instead of uploading via the WordPress plugin dashboard, use Hostinger’s file structure to place the backup precisely where it belongs:
- Log into your Hostinger hPanel and open the File Manager for your domain.
- Navigate to the root directory: public_html \rightarrow wp-content.
- Inside wp-content, look for a folder named ai1wm-backups (created automatically when you install the All-in-One WP Migration plugin).
- Upload your local .wpress backup file directly into this folder. A progress bar at the bottom will track the file upload until it succeeds.
Step 5: Bypassing the $69 Premium Extension Paywall
Once your large file is uploaded via the File Manager, go back to your WordPress dashboard, navigate to All-in-One WP Migration, and select Backups.
You will notice your uploaded backup file is now visible! However, clicking “Restore” on a large file inside newer free versions of the plugin triggers a restrictive prompt demanding a $69 Paid Extension to proceed with large restorations.
How to Bypass the Paywall Safely:
You can cleanly bypass this lock by utilizing a legacy, unpatched version of the All-in-One WP Migration plugin that doesn’t enforce strict file limits on internal restores.
- Download a legacy version of the All-in-One WP Migration plugin (Version 6.7x or older can be sourced via community-verified archival code repositories like GitHub).
- Go to Plugins \rightarrow Installed Plugins on your WordPress dashboard and delete the current version of the plugin.
- Click Add New \rightarrow Upload Plugin, and upload the legacy version ZIP file.
- Go back to All-in-One WP Migration \rightarrow Backups.
- Click Restore on your file. With the legacy version installed, the migration tool will present a “Proceed” confirmation screen instead of a paywall block. Let the restore process run until completion.
Step 6: Post-Migration Troubleshooting
Once the restoration finishes, your old theme, posts, pages, and databases are completely live on your new host! Take these final steps to ensure everything runs smoothly:
- The Password Reset Gotcha: Restoring your database overrides the temporary WordPress admin password you made on Hostinger with the old password used on your Namecheap site. If you forget your old password and get locked out, simply go back to your Hostinger hPanel, click WordPress Dashboard, and use the Edit Website auto-login link to access your panel and reset your profile password manually.
- Link Verification: Click through your site navigation to confirm all permalinks and media attachments load properly.
Your website migration is complete! For a full visual walkthrough highlighting these troubleshooting steps in action, check out the complete tutorial on the Advanced User Channel.